As we become more connected and many can work remotely, you may be wondering how to get wifi while camping.
I’ve developed a reliable system for figuring out where I might get cell service and wifi/internet while camping in the backcountry and off the grid.
I will start with an overview of your internet camping options and then wrap it up with my 8-step guide on what I do to find wifi while camping.
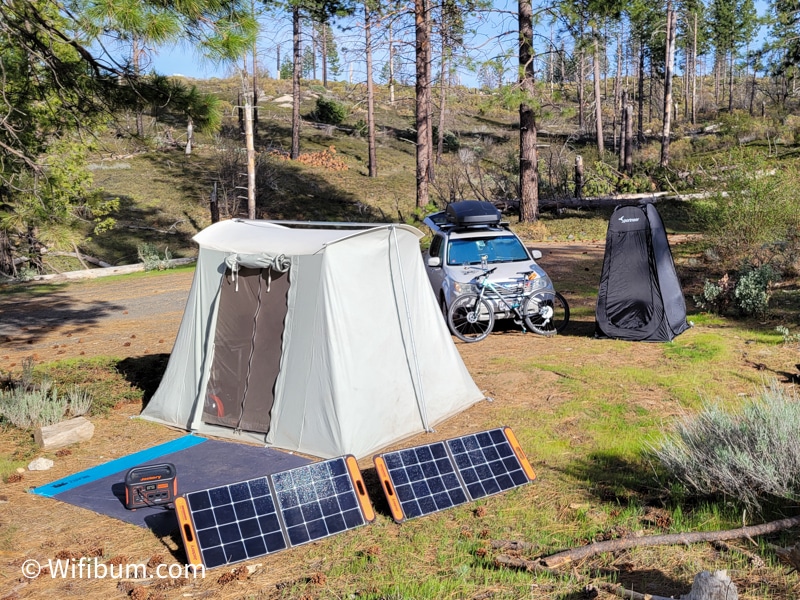
Note: everyone is going to have different internet and wifi requirements. Someone that is web-based will have much different camping internet requirements than someone uploading videos or on Zoom all day.
How to Get Wifi While Camping? Let’s Simplify It
There are two ways to get Wifi and internet: Cell Towers and Satellites.
If you have cell towers nearby, you can use a Wifi device or your phone as a hotspot.
Wi-Fi Boosters like WeBoost or other signal boosters can amplify cell signals from cell towers. Read my WeBoost review.
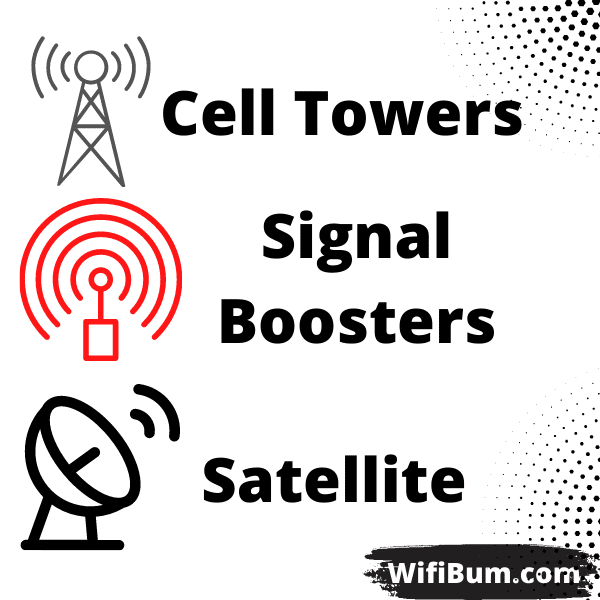
So, if there are no cell towers nearby, then there is no signal to amplify, and there is no point in a booster.
When there is no cell signal, your only option is to use Satellites, the new Starlink for RVs (and vans).
Now let’s get into the juicy details.
Portable WiFi Hot Spots: Getting Internet on the Road
Whether you are trying to work on the road, upload photos or videos, or trying to keep connected with family and friends, getting portable Wifi/Internet can be an essential priority.
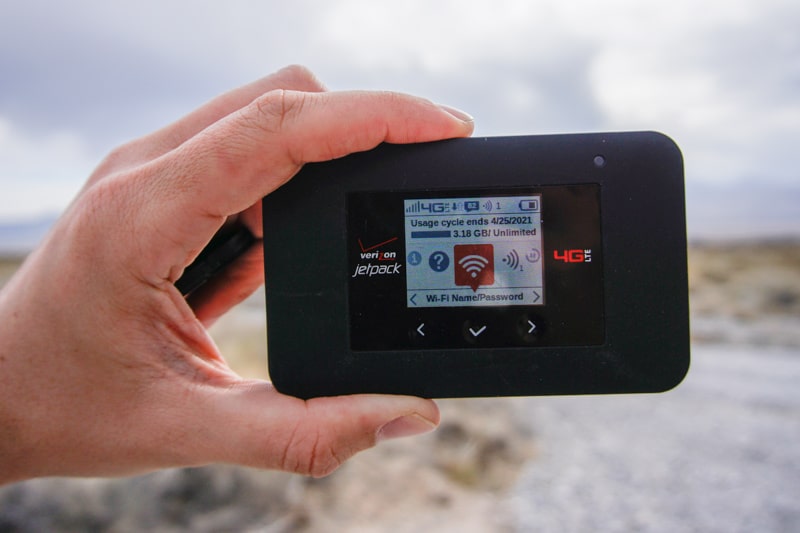
Although you can use your phone as a hot spot as times, I think it’s better to get a WiFi device from one of the top carriers like Verizon or AT&T.
Mobile WIFI HotSpot Device for Camping Internet
I use the Verizon Jetpack 4G LTE Mobile Hotspot and have been using it for about 4 years.
Note: there is a one-time fee for the device, then you have to work with Verizon to get it activated and added to your plan. It's cheap to add to existing plans.
It’s small, reliable, and I’ve never felt the need to test anything else out.
Pro Tip: To maximize coverage, some will get a Verizon and a AT&T. It costs extra, but if you’re on the road a lot, having both will increase your odds of getting reliable service.
I think the device was $200 one-time or something like $10 or $15 per month for 2 years. It added up more than the $200 one-time payment so I just paid it off right away.
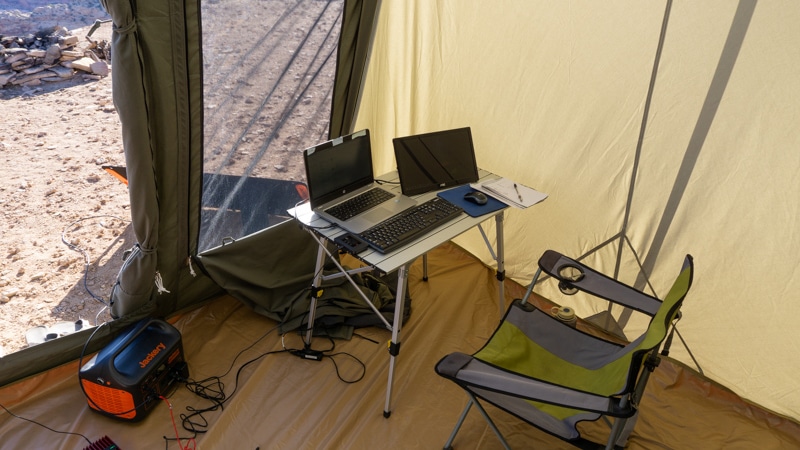
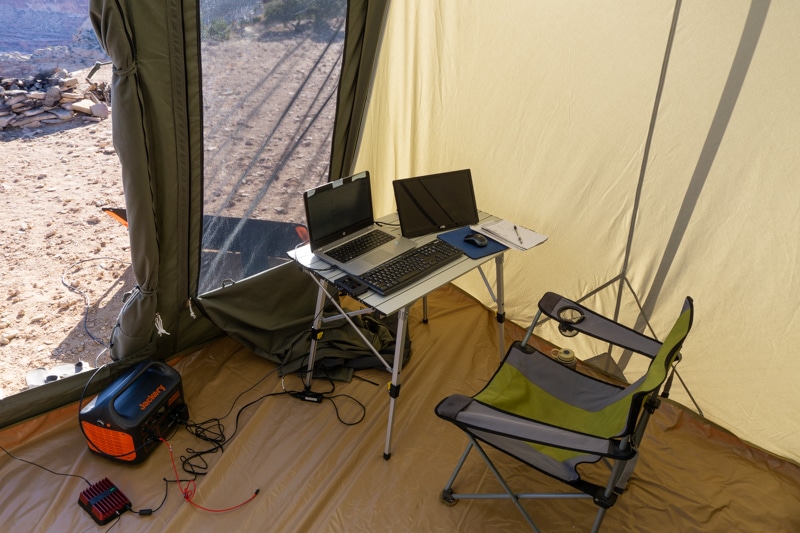
Adding it to an existing phone plan was ~$20/mo for “unlimited” data up to 15GB on the device. They currently offer plans at 15GB, 50GB, 100GB, and 150GB. I’m currently on the 100GB plan as I work remotely from a canvas tent.
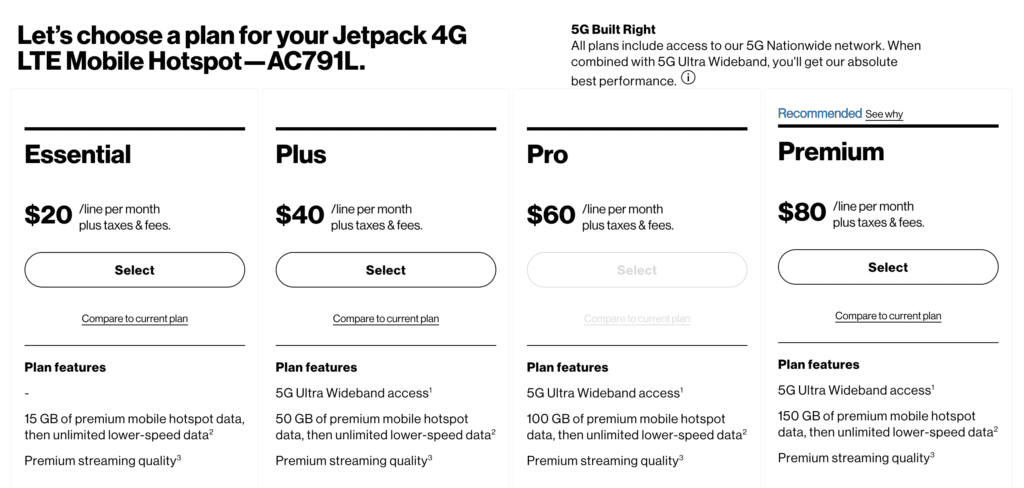
One thing to note is when you go over your current plan, you get throttled hard to where it barely works. You can upgrade and downgrade mid-month so it’s easy to solve if you get too much or too little.
The AT&T equivalent of the Verizon Jetpack is the AT&T Nighthawk and can be found here.
Using a Phone as a HotSpot or Tethering for Camping Wifi
If you only need the internet to check a few emails or other simple tasks, you may want to use your phone as a hotspot for other devices like a laptop or tablet.
However, it’s not a great solution if you’re looking to be connected for long periods of time.
Why a Wifi Device is Better than Using Your Phone
- At times, you’ll be in areas where moving your phone 1 inch may be the difference of workable service and non-workable service. So, unless you are going to leave your phone alone for hours, it’s not a great solution.
- Using your phone as a hotspot tends to drain your phone battery much faster. My Verizon JetPack Wifi device can last a full day or plus while in use compared to my phone that would die in a few hours.
- While camping, I’ve noticed my Verizon Jetpack pick up stronger signals than my phone even though they are on the same plan. It is normally 1 bar or it’s equivalent better than my phone.
I recommend focusing on using coffee shops, libraries, and other free internet places in conjunction with mobile data.
Cell Signal Boosters for Camping Internet
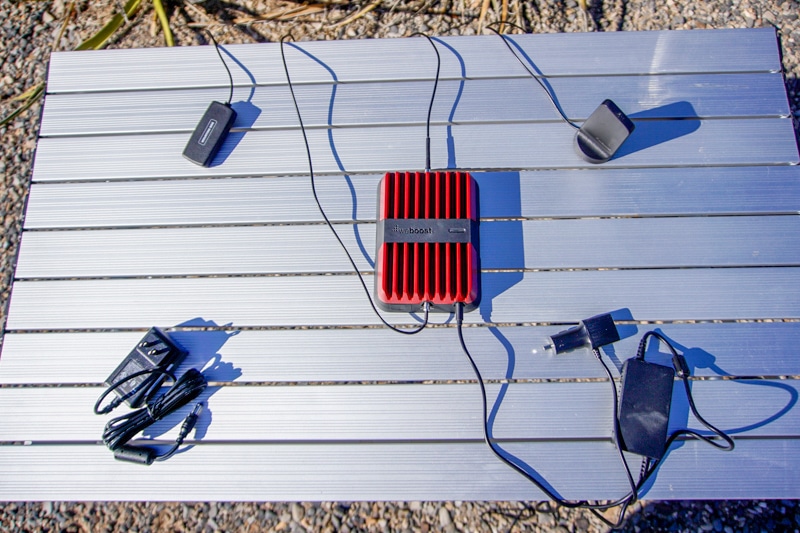
Cell signal boosters can help amplify existing signals. The primary company is WeBoost. Read my full review after a year plus of use here.
You won’t really find solid alternatives to WeBoost.
Why?
I called them up and the inventor holds patents related to the product. So, competitors are trying to copy them without infringing on the patents which makes a lesser product.
I’ve seen my WeBoost signal booster increase my phone from 1 bar of 3G to 2 bars of 4G. It can be the difference between workable service and non-workable service.
However, it can be hit or miss depending on your area. There are times I use it and nothing happens. This is typically in areas where the cell service is spotty.
When you at least have 1 or 2 bars reliably in an area, they tend to be able to boost it by a bar or two.
Look at my full review for a video showing it working.
Satellite Internet for Camping
I had to update this article after Elon Musk’s Starlink came out with a much more convenient satellite receiver specifically for RVs.
Satellite internet, and specifically Starlink, got me really excited several years ago. Imagine being able to work remotely from anywhere!
It’s a new technology and it will improve. However, at its current state, I don’t find it very practical.
- $135/mo after the $599 one-time hardware cost
- You’ll be throttled in many areas during peak usage
- It requires constant power, about 100 watts.
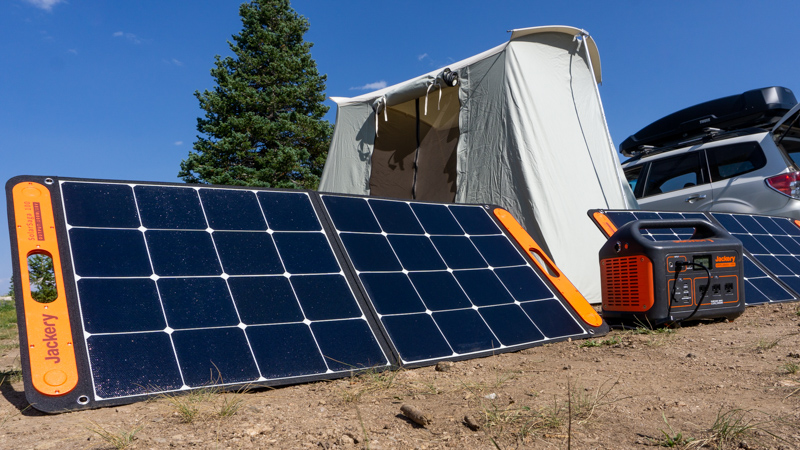
- That’s 3X times what my Macbook Air uses. My 200 watt solar system charges at a rate of ~130 on average, so many will have to upgrade the number of solar panels they have or use a generator.
If they can work on the power usage and guaranteeing fast internet in more places, it will start getting more interesting.
At this point, I think it’s a very niche product for full-time RV’ers with plenty of solar power and limited wifi needs.
Planning Ahead: How to Get Wifi While Camping
Here are a few tips to maximize your chances for strong internet connections when on the road, RVing, or camping:
- Camp as close to town as possible
- For example, in Sedona, AZ you can camp pretty close to town, legally. The closer you are to the town and its cell towers, the more likely you will have strong service. Steamboat Springs also has some great camping options.
- For example, in Sedona, AZ you can camp pretty close to town, legally. The closer you are to the town and its cell towers, the more likely you will have strong service. Steamboat Springs also has some great camping options.
- Maintain a view of your horizon
- Try to camp near high points instead of gullies and canyons.
- Try to camp near high points instead of gullies and canyons.
- Review iOverlander, FreeCampsites.net and other websites and search for mentions of cell service at sites near your area to get a general idea if there is no service, some service, or strong service.
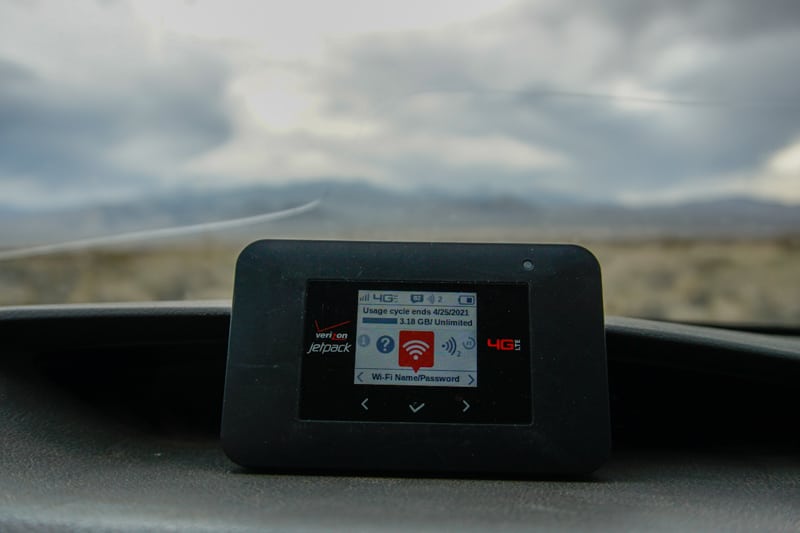
- If you want the best internet, drive with your hotspot on your dashboard
- As you are driving to find a spot for the night(s), turn on your WIFI Hotspot so you can see what kind of service you have as you are driving. If you notice it starts fading, then stop driving and find a spot closer to stronger signal.
I also tend to do any “hard” or “data heavy” aspects of my work before I leave on the trip. If you have certain days that you know you will be data heavy, make sure you are close to a town during those days in case you need to use a coffee shop or library.
Finding Campgrounds with Wifi
If you are camping at a paid campground, you can call them ahead of time and ask about the cell service in the area. Some places will offer wifi where you pay by the day or week. It’s still good to ask those places how well it actually works.
I’ve been to a few that claim they have WIFI, but it might only be in the office and that might be closed at certain times. Another place had wifi, but you had to be close to wherever there signal was being generated. It was just out of reach of my campsite so I had to sit at a picnic table closer to it whenever I needed it.
Campendium and similar websites are great resources where users not only review cell signal, but even which carrier they had and many comments mention if they use a cell booster or not.
My Step-By-Step Guide on How to Find Places with Wifi
WiFi needs cell signal, so we need to find where we can get cell signal.
Step 1: Know your phone carrier’s coverage map
For any other’s, simply google your carrier plus “coverage map.”
It’s good to zoom in and out of various areas you’re considering. See if there are any obvious dead spots to avoid.
I don’t use this much anymore, but it’s a good resource to understand where you absolutely will have no service.
Step 2: Search for campsites in your desired area on Campendium.com.
My method requires to be upgraded to the Pro membership ($49.99 per year). It used to be cheaper, but they just upgraded a lot of things in the past year and increased the price.
Campendium is useful because users report road conditions, rig size, and most importantly for me, cell coverage.
You can search campsites and then filter based on user-reported cell coverage at the carrier level (ie: Verizon, AT&T, etc).
Apparently, they just updated it so you can actually overlay your cell provider’s coverage map directly on your search results. However, I still would use the rest of the steps for verification.
Step 3: Filter your results based on your cell service carrier.
You can also filter for Free campsites that are on public lands at this step if that’s what you’re most interested in.
Step 4: Open all your results in separate tabs and read the reviews
Users will rate the service from 1 to 5 bars. I open all the tabs and basically “X” out any that don’t have an average of 2 bars or more.
You can see how each person rated the cell service. Sometimes, only one or two users have rated the camping area, so you need to read the reviews as well.
I like confirm the cell service ratings with reviews that also mention they had 2 bars or whether they needed to use a booster.
Lastly, I won’t commit to a camp area if there is only one review. I’ve been burned on this more than once. It’s not done to deceive, but various weather conditions or other things can impact cell service. Sometimes, cell coverage can change throughout the day as well.
The more reviews, the more I trust it.
Step 5: Save the campsites that meet your criteria
I like to save the campsite on Campedium and then add it to a google map or GaiaGPS.
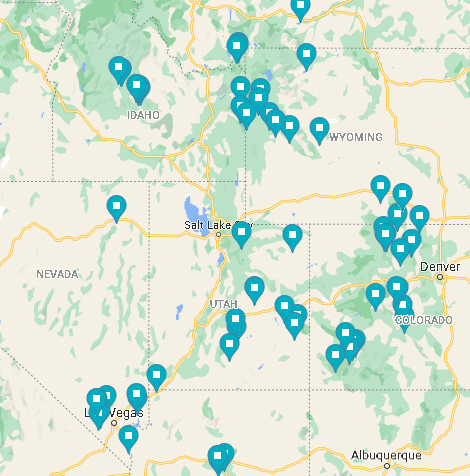
Step 6: Check iOverlander.com for the same area.
iOverlander is becoming more and more popular. It’s got a different target audience, but they also have an area to add information about wifi.
However, they ask a lot of questions, so I’m not sure everyone that adds a camp on there is really paying attention to all the details. Read the reviews and make sure they actually talk about having service before trusting it.
Step 7: Bring out your wifi device while getting closer to your destination
At this point, you have an idea of where there is and isn’t service in the area you’re heading to. About 30 minutes out, I start monitoring my wifi device and paying attention to when and where you have service.
I’m not trying to actually camp at the exact locations of the previous camps I saved, I just want to know if the general area has service. As I get closer, I improvise based on where I get the best service while driving.
Sometimes this takes venturing on a couple dirt roads with no luck, but almost every time I’ve been able to find a spot that met my expectations.
Step 8: Enjoy!
Enjoy finding a beautiful spot where you can enjoy nature while still being connected.
Checking Your Internet Speed while Camping
It’s good to test your internet speed at home and on the road to get an understanding of what you can and cannot do with certain speeds.
For example, a lot of my work is web-based, so I do not need a ton of speed to make things work.
However, if you are planning on uploading or downloading files, you may have higher requirements.
I typically use https://www.speedtest.net/
It will tell you your download and upload speed.
At home, I can get about 65Mbps download and 10mbps upload.
However, when I camped near Las Vegas I got 24 Mbps download and 16 Mbps upload.
In Sedona, I only got 1.6 Mbps download and 1.3 Mbps upload. This was enough for web-based work. At the same time, it was very touchy. If I moved my Verizon Jetpack a few inches, I couldn’t work at all (without a cell booster).
Final Thoughts
Hopefully this gave you a better understanding of your options on how to get wifi while camping. It took me a year or so of figuring this all out so hopefully you can learn from my current methods and save you some time!
I work remotely primarily on public lands and I’m continuously figuring out new ways to be more productive and finding new gear to help along the way. Click around the rest of the site if that’s something that interests you. Cheers!

