Making diy camping curtains and window covers for your car, SUV, van, or campervan is a satisfying solution for privacy, sleep, and stealth camping.
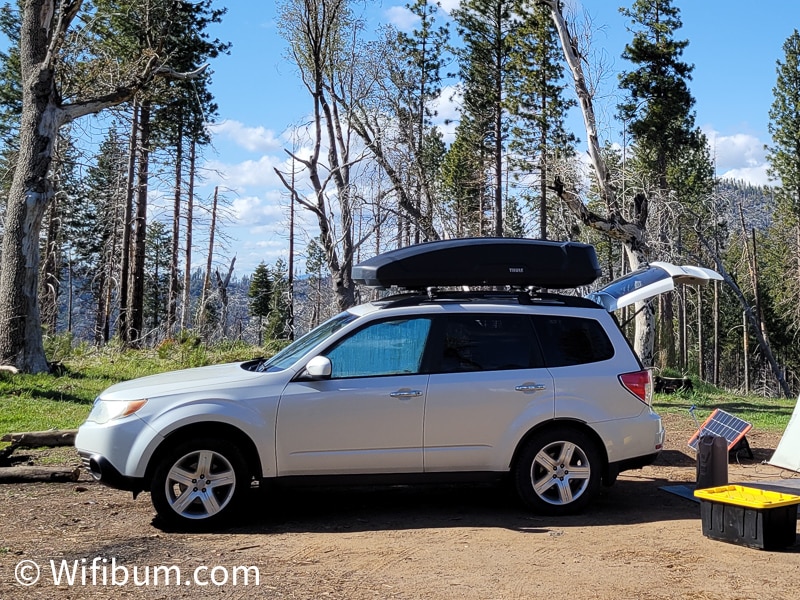
I made DIY SUV curtains for my Subaru Forester after trying the Reflectix method first. Hopefully, this post will provide you with some insight into the direction you want to go.
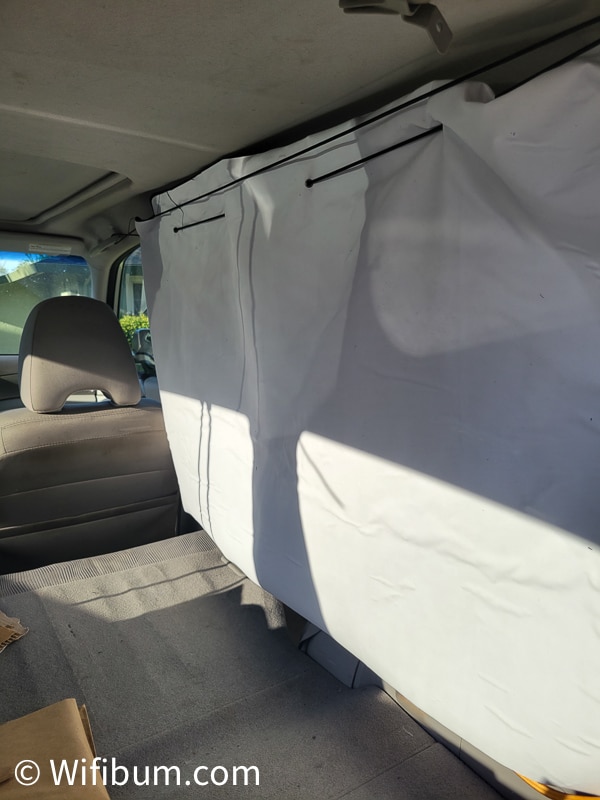
An unexpected benefit is that DIY car curtains are also great for hiding large items in your vehicles such as mountain bikes or other things that can’t be tucked away.
Best DIY Camping Curtains Methods and Window Cover Options
There are many different ways people make camping curtains for their vehicles. You’ll also have to decide if you want them to be more permanent or not (ie: do you want to drill into your vehicle or not).
A few popular methods are:
1. Reflectix Window Cover Inserts
This DIY window cover solution involves buying a roll of Reflectix and cutting out window inserts for each window.
Some choose to make one side black via spray paint or gluing fabric on it.
2. DIY Window Curtains Connected to Rope
DIY window curtains involve using fabric, grommets, and utility rope.
These diy window curtains can be pushed left or right easily. This is my favorite method, and I’ll go over it in detail later.
3. Individual Window Shades with Snap Buttons OR Magnets
This involves drilling snap buttons into your vehicle which is the major drawback and the reason I haven’t tried it. Some have used magnets as an alternative.
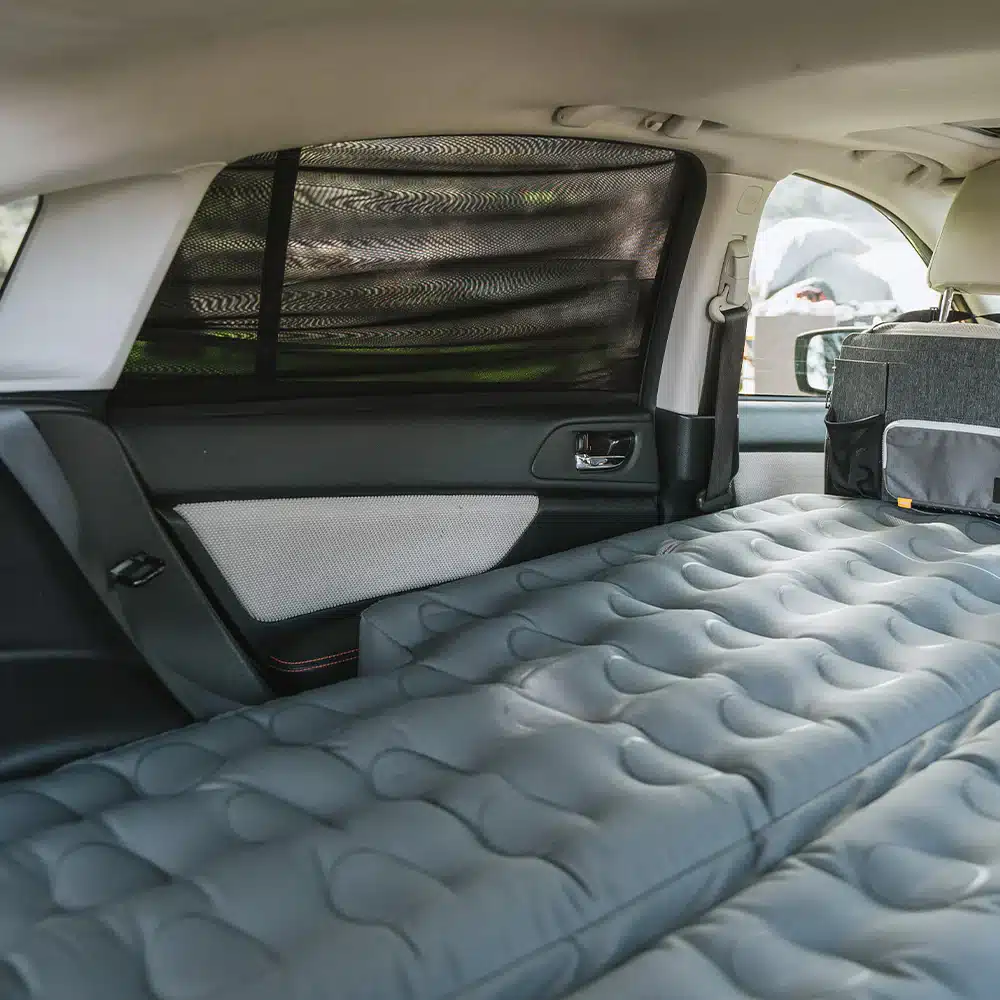
Related Reading: My favorite car air mattress for camping.
Best DIY Car Camping Curtain Solution?
In my opinion, DIY fabric curtains are the best car camping solution. Reflectix is the best solution for the front windshield and the driver and passenger windows.
Having semi-permanent curtains is significantly more convenient and practical than using window inserts for each window.

They are easier to set up at night, stealthy, and you can get more airflow because you can have your windows open.
DIY Car Camping Curtains: Complete Guide for SUVs
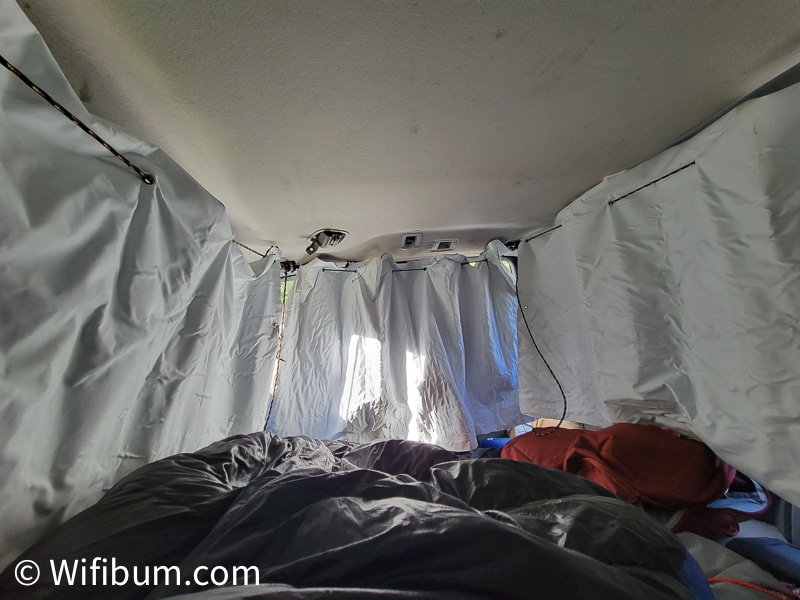
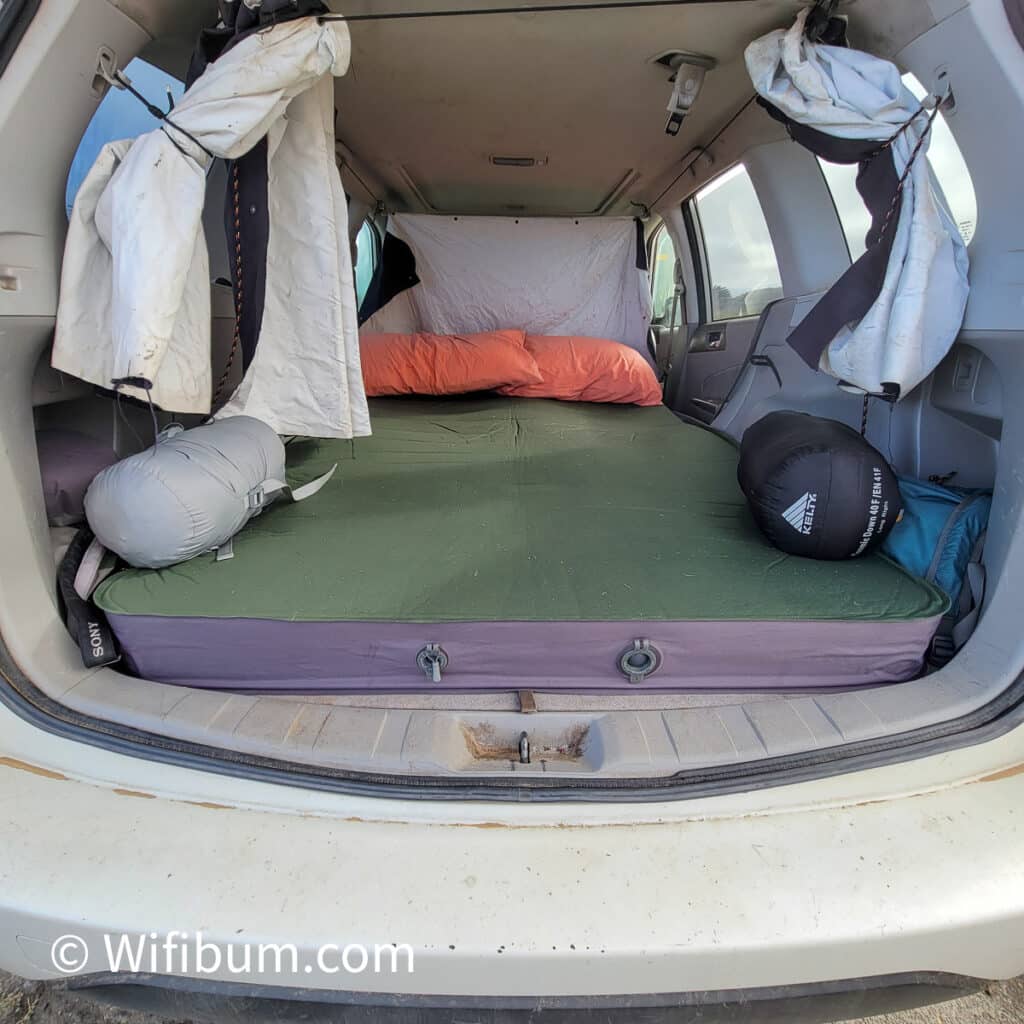
My DIY SUV living and camping curtain setup involves using a grommet set to punch grommets into blackout curtain fabric.
Then, I attach it to cordage running from the front of my vehicle to the back. In addition, I have curtains for the rear window and for behind the driver and passenger seats.
It’s like a little rectangular home.
I’m a very useless handyman and had never used a grommet set before, so if I can do this, anyone can.
Pros and Cons of DIY Car Camper Curtains
| Pros | Cons |
|---|---|
| EASY to set up each use | Expensive compared to other options |
| Takes up little room vs window cover inserts | May have to drill into some vehicles |
| Long useful life | Not as simple as “Reflectix” method |
| More airflow/venting and can peak outside easily |
Materials Required to Make DIY Car Camping Curtains
I started this website after I completed this project, so I don’t have the exact cost. I THINK it was in the $130-$170 range. That’s in pre-covid dollars.
Also, keep in mind, buying these pre-made will cost you much more and potentially be a worse fit.
1. Blackout Fabric for Car Windows ~$70 – $100
This will be a relatively thick material and have a little heft to it. If it’s not black fabric, consider buying black material to glue onto the side facing the outside.
I recommend visiting your local Joann Fabrics or similar store. It really helped me get a better idea of the thickness of the material and understand the options.
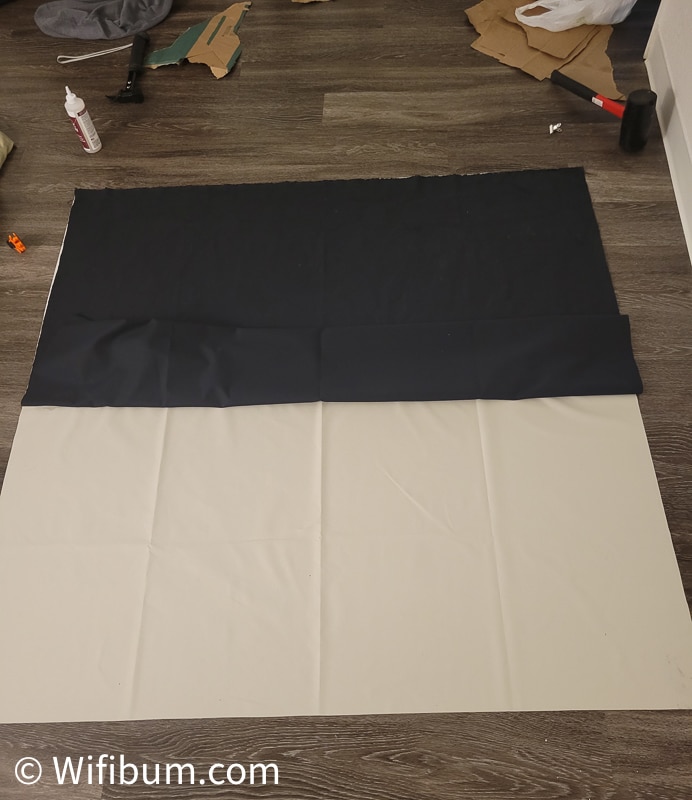
Note: my local stores only had WHITE blackout curtain material. I purchased a thin, black fabric of the same size. Then I glued that fabric on one side, so the side facing outside was black, and the inside is white. I actually like this because it makes it feel less dark.
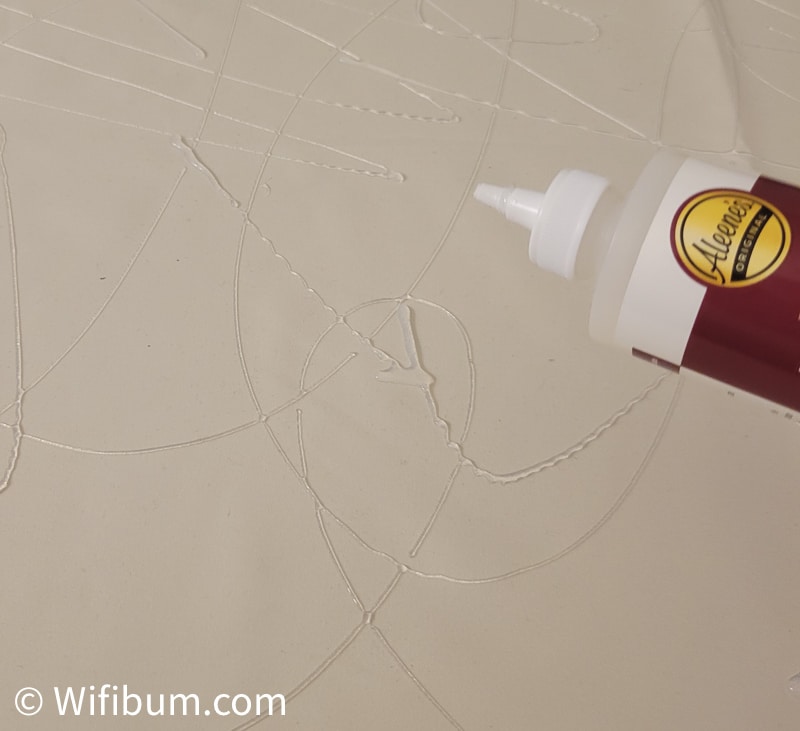
2. Fabric Glue for Blackout Curtains ~$20
I went through a few different ones. This is the best one for most fabrics. I can’t remember if I went through one or two of these.

It also comes in Spray form, which I found useful around the edges of the fabric, but it’s not practical for how large of a space you need to glue.
I will note, using the “dump glue all over” method is not the cleanest look. You can see the lines even after I “rolled” it out. However, in standard lighting, it’s not super noticeable.
If you want a 100% clean look, you’ll want to use the Spray version, but your fingers that have to pump the bottle will hate you.
Grommet Set ~$20
I bought this basic grommet set.
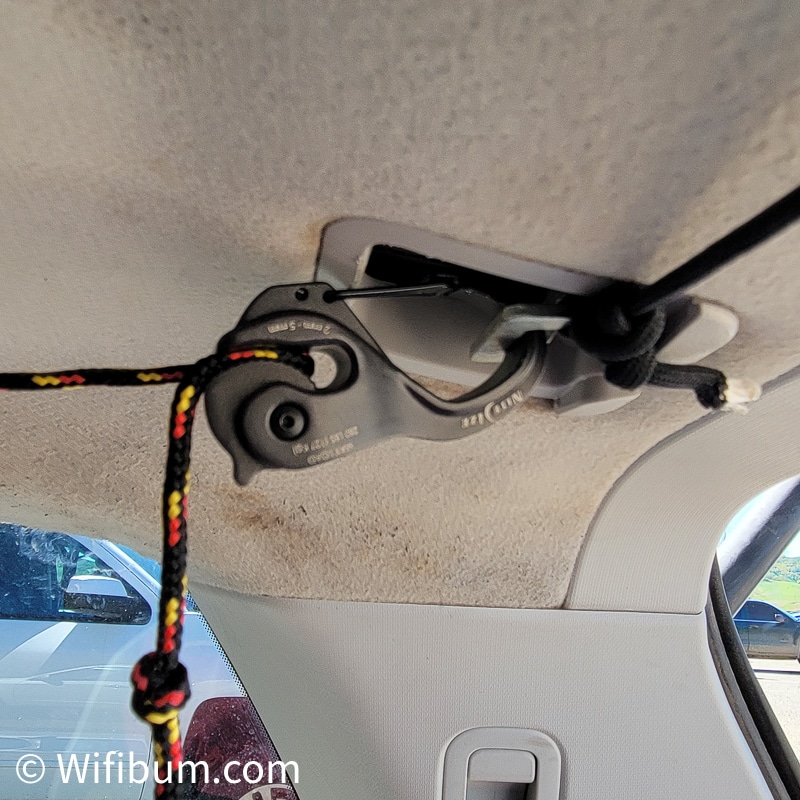
3x CamJams ~$30
I used the Nite Ize CamJam Rope Tightener, 2mm-5mm. These things are awesome for car curtains and also useful in many camping situations.
You don’t technically need these, but I found it easy to get a really taught line for the curtains using it.
Here’s a short video how it works.
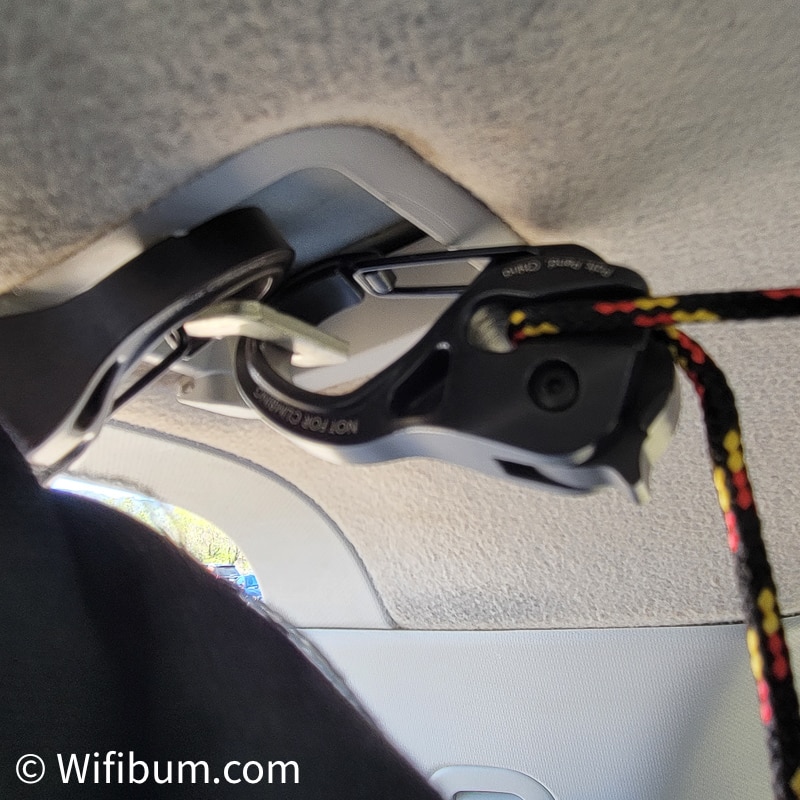
My Subaru Forester had anchor points in the back that these attach to easily. If your car doesn’t have that, you’ll have to look for other solutions like magnets.
Utility Rope for DIY SUV Curtains ~$15
If you use the Nite Ize rope tightener, make sure the utility rope you use matches the suggested size. I used a 5mm (3/16in) non-stretch cord.
Do NOT use paracord. It will stretch and not hold as well within the Nitz CamJams.
Something like this should work. It does loosen a small bit over time, but you can easily pull on the cord and it will tighten easily with the Nite Ize.
DIY SUV Curtains: Step-by-Step Guide and Instructions
Step 1: Measure Vehicle and Buy Fabric / Materials
It’s important to remember to have ~1 or 2 inches of fabric above the grommets, so measure from the top of the window to however long you want them. For a 2009 Subaru Forester, I used ~2 inches.
I went to Joann Fabrics for this project. They were SUPER helpful and will cut the fabric exactly to your measurements. It’s much easier to have them do it than to try and do it at home.
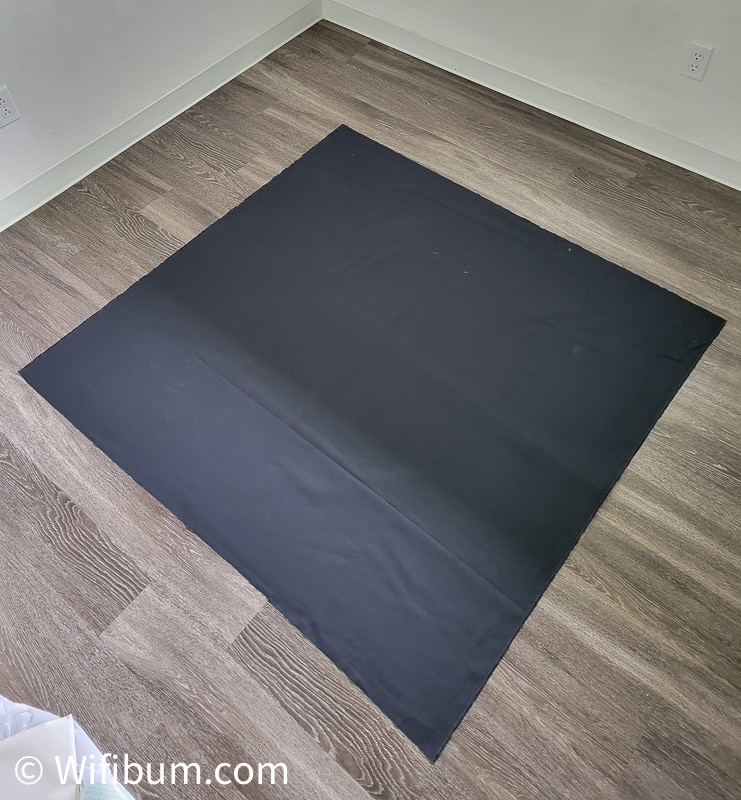
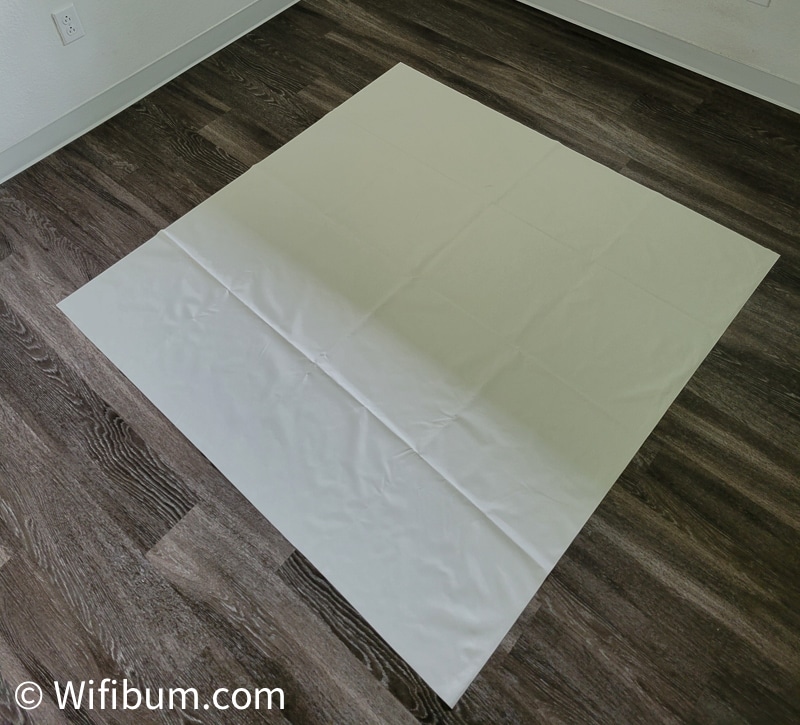
Although, because I knew I had to glue the fabric, I wanted to glue the fabric together and THEN cut it to make it a little easier. So, I bought 2 large squares, then cut them for a total of 4 pieces.
In addition, depending on what material you choose and whether you need to glue anything, you can talk with their experts to get the best glue for the fabric you chose.
Step 2: Gluing the Blackout Material to Black Material
As mentioned above, the only blackout material available was white. To have my curtains be a little more stealth, I wanted them to be black on the outside. Thus, I had to glue them together.
I think I went through 2 bottles of fabric glue.
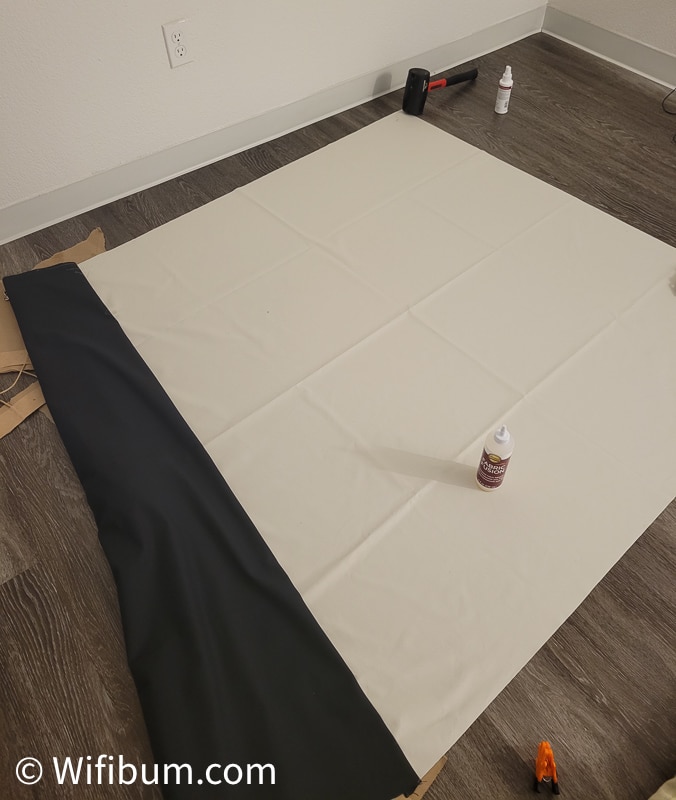
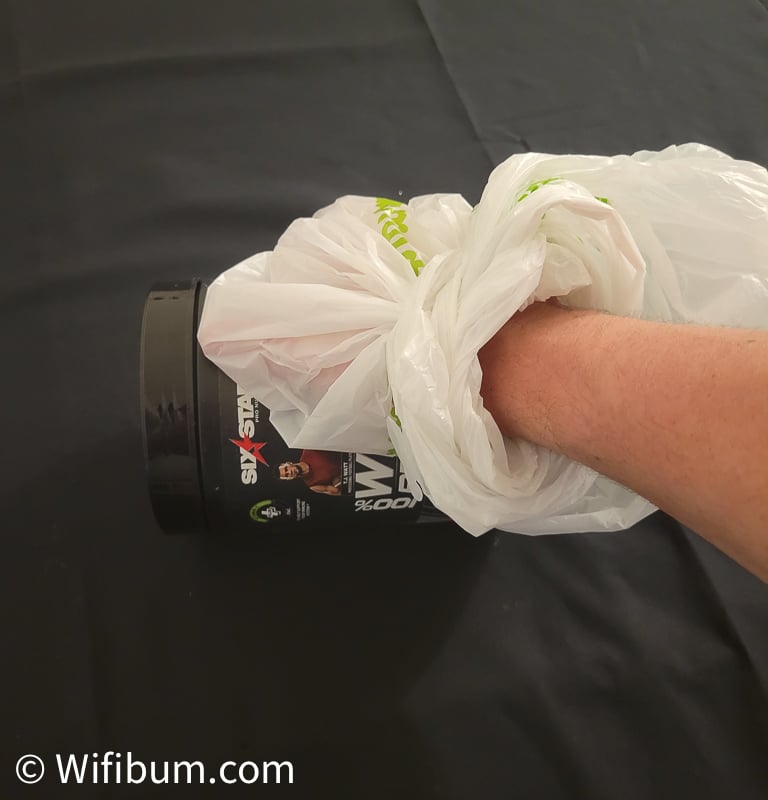
In addition, some glue would pop through the fabric, so I used a really obnoxious method.
After covering sections with glue, I would pull over the fabric and roll it. I used an old protein power container and a plastic bag over my hand to avoid getting glue on me lol.
As I said, not very handy, just had to get ‘er done.
I let the glue sit for 24 hours before cutting each square in half.
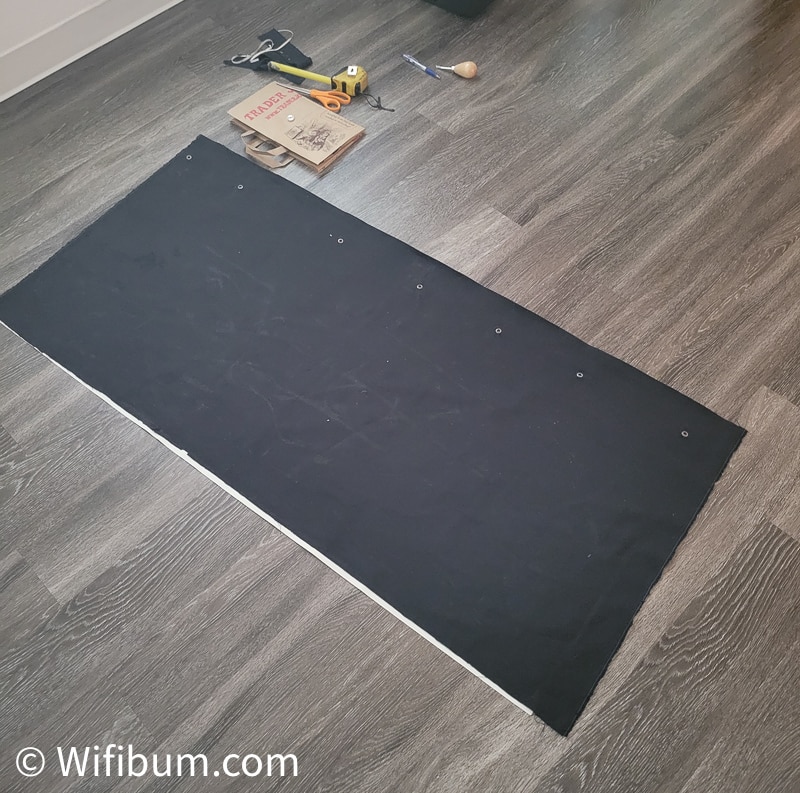
Step 3: Punch Grommets into the Fabric
If you’ve never used a grommet set, don’t worry, it’s easy.
My grommet set was a beginner set and probably not the most robust the world has seen.
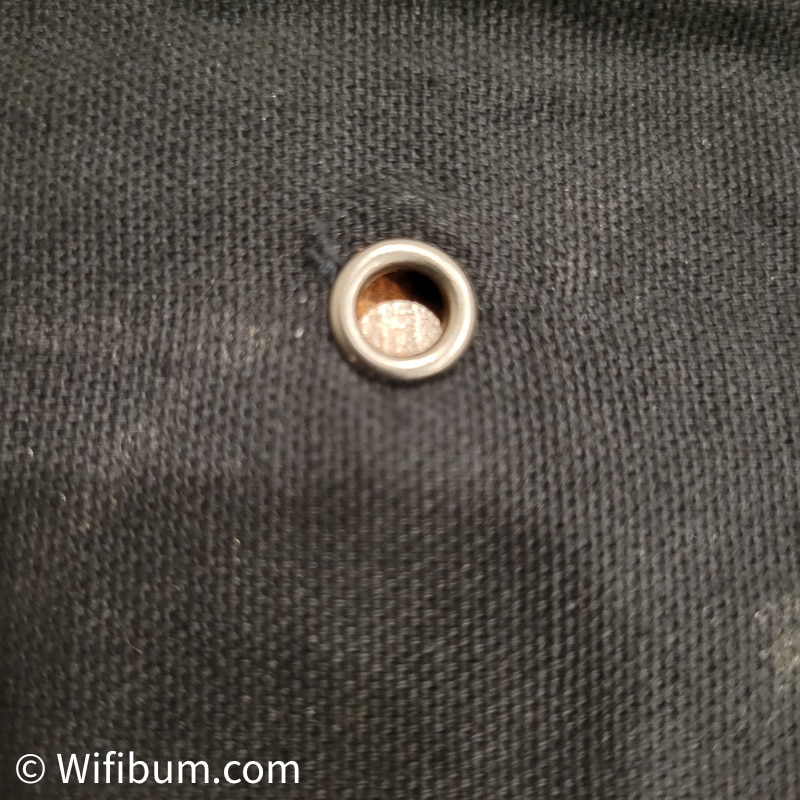
What I had to do was first use a sharp tool like small scissors to cut into the fabric. My blackout curtain material put up some resistance, but you also can’t make TOO big of a hole or the grommet won’t work.
So, I would poke a tiny hole, then use one edge of a household scissors to slowly widen the hole.
Then, once I could fit a grommet through it, I would use the tools to fasten it.
I punched grommets every 8 to 9 inches, and it worked great.
In addition, it’s nice to have a grommet or two on the SIDE of the curtain. This helps if you’re rolling it into the corner of your vehicle when it’s not in use or attaching it to other curtains to close the gap between them.
Step 4: Install the Curtains into Your Vehicle
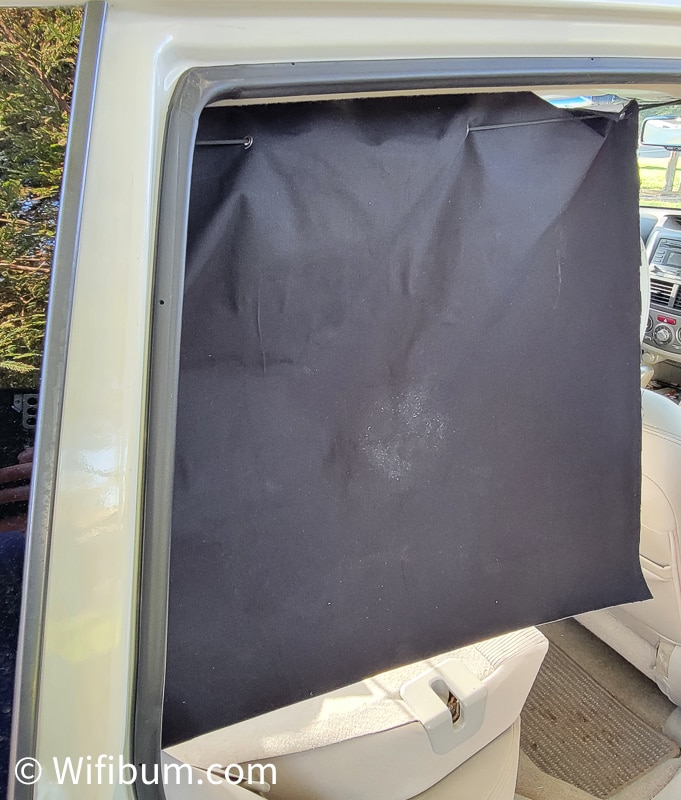
Side Curtains. I tied one side to the knot in my “oh shit” handle. Then, you feed your non-stretch cordage through the grommets.
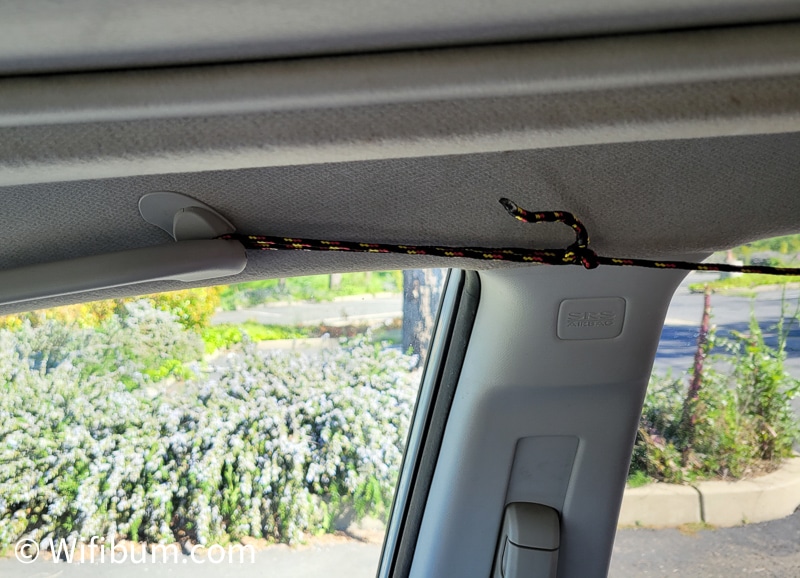
Attach a Nite Itz rope tightner to a back latch if you have it. Then, feed the cordage through the Nite Itz and pull it as tight as you can.
If you don’t have a latch point in the rear of your vehicle, you could install a hook or snap button to make it work.
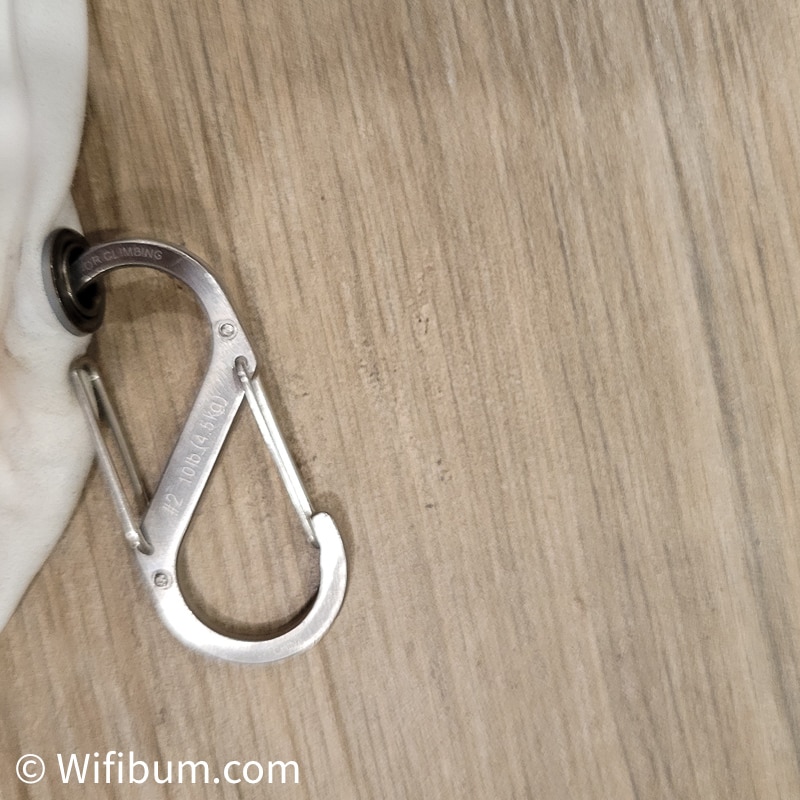
Front and Back Divider. I used double S hooks to attach a curtain that connects to the cordage from each side curtain.
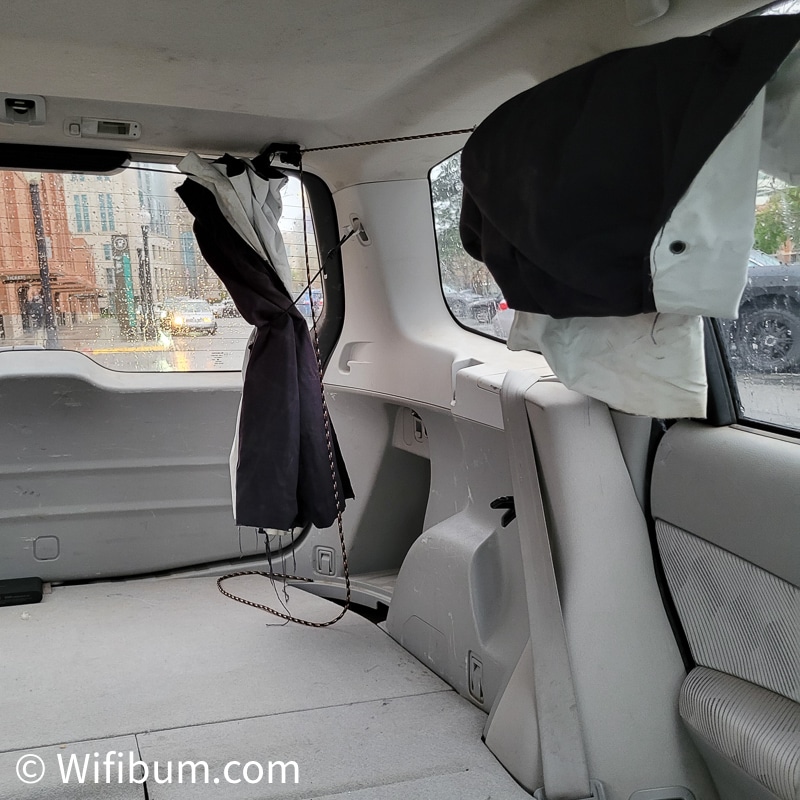
Back Curtain. You can use an S hook or tie a knot directly to one side. Then pull it over as far as you can to the other side when you want to use it.
Ta-da! You just built some awesome DIY SUV curtains!
I should note, my curtains hang loosely at the bottom. The material is heavy enough to stay in place and not move easily. You could install some magnets or do something creative to get them closer to the vehicle, but I never found a need for it.

“BUT THAT SOUNDS LIKE A LOT OF WORK”
I would argue my failed method of using Reflectix inserts was just as much work and more frustrating.
Reflectix DIY Camper Window Inserts
This method was my nemesis for a couple of evenings after work. I initially made inserts for each window in my vehicle.
Reflectix works GREAT for the front windshield and even the driver and passenger windows.
But I found them to be a pain in the butt for all the other windows and not super practical.
This method is cheaper and potentially quicker than other methods.
If you plan on doing all your windows, you’ll want a large roll. If not, sometimes you can find them in smaller rolls.
Pros and Cons of DIY Reflectix Window Covers
| Pros | Cons |
|---|---|
| Inexpensive window covers | A pain to get in rear windows, may fall out |
| Simple | Window covers take up space |
| Great for windshield and front windows | May lose shape / get damaged overtime |
| Can’t open partially to let air in or peak outside easily |
One thing I didn’t realize about the Reflectix method would be how much space it would actually take up and how annoying they would be to set up each night.
In my Subaru Forester, I had 8 individual reflectix covers. Even putting them under my folded seats wasn’t practical because they were bulky and my seat wouldn’t lie flat.
They floated around my car, got crushed by gear, and even when they were new didn’t fit great (my fault, but it is hard to get them perfect even with measurements or using cardboard cutouts).
However, they are still the best option for the front windows, in my opinion.
Reflectix DIY Window Covers Step-by-Step Guide
Step 1: Buy a roll of reflectix!
Your local hardware store like ACE should have some rolls. Here it is on Amazon. I think I went through two rolls because I did every single window.
If you’re just doing the windshield and front windows, probably only need one roll.
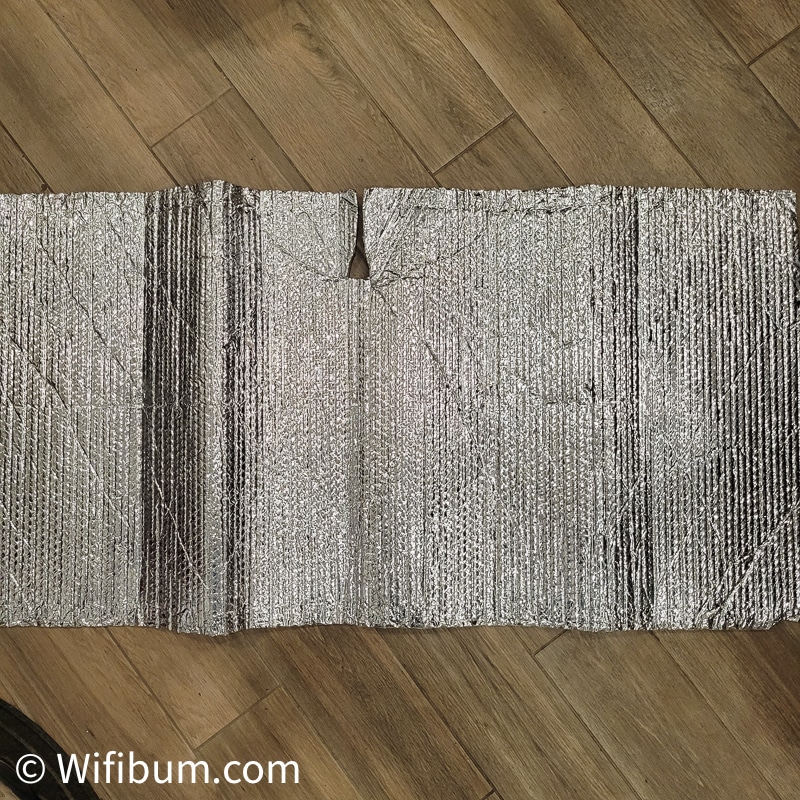
Step 2: Cut Reflectix to Size
Cut the Reflectix to the size of the window.
For the windshield, I took some loose measurements, cut a rectangle, and then slowly modified it using the sophisticated guess and check method. Once I got it sized correctly, I cut a little notch in it for the rearview mirror.
To get it to stay up easier, I put down my sun visors so if it does fall out, it won’t move much.
Some will use cardboard to get the correct shape, and then trace it onto the Reflectix. However, that seemed redundant especially if you get a large roll of Reflectix, you can afford a redo or two.
Lastly, some will use other techniques like velcro or something to make them stay in place easier than the window. I would argue if you need to go down that route, you might as well make actual curtains.
Step 3: Optional Stealth Modification
If you are trying to be stealthy, you may want to cover one side with black fabric. Some spray paint it, but it will chip off eventually and I personally wouldn’t do it. Using black fabric and glue would be my option.
Conclusion DIY Camper Curtains and Window Covers
I hope this post gave you some ideas or insight into DIY camper curtains for your car camping adventures!
It is one of the most value-added projects I’ve done. These curtains have helped with sleeping, stealth camping, and keeping my gear hidden while I’m off on the trail.
Related Reading